

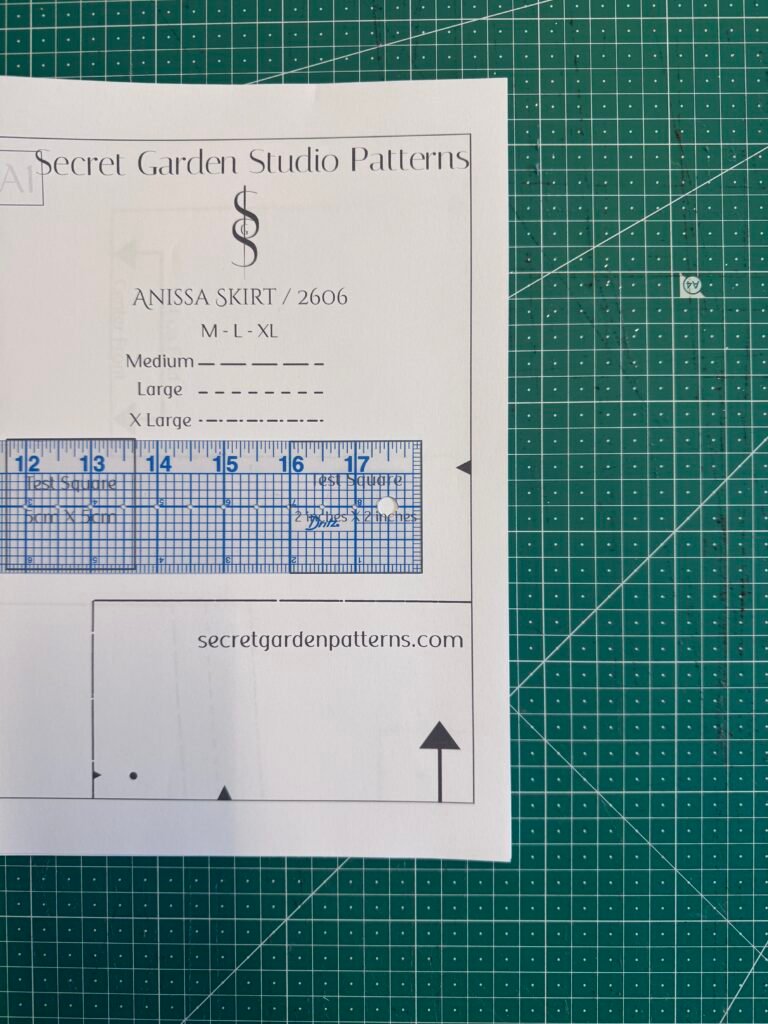
Assembling an SGS pattern is now pretty straightforward, we are now using a very simple alphanumeric system. Before printing your entire pattern, first just print your first page. Measure the test square to make sure your printer printed the pattern correctly, you don’t have to measure both one should be just fine. If you find that the measurement is not correct, check to make sure your printer settings did not scale the pattern and also make sure you are printing from a pdf reader and not a web browser. These are the two most common reasons for the pattern not printing correctly. The pattern is sized for both US letter and A4 page sizing.
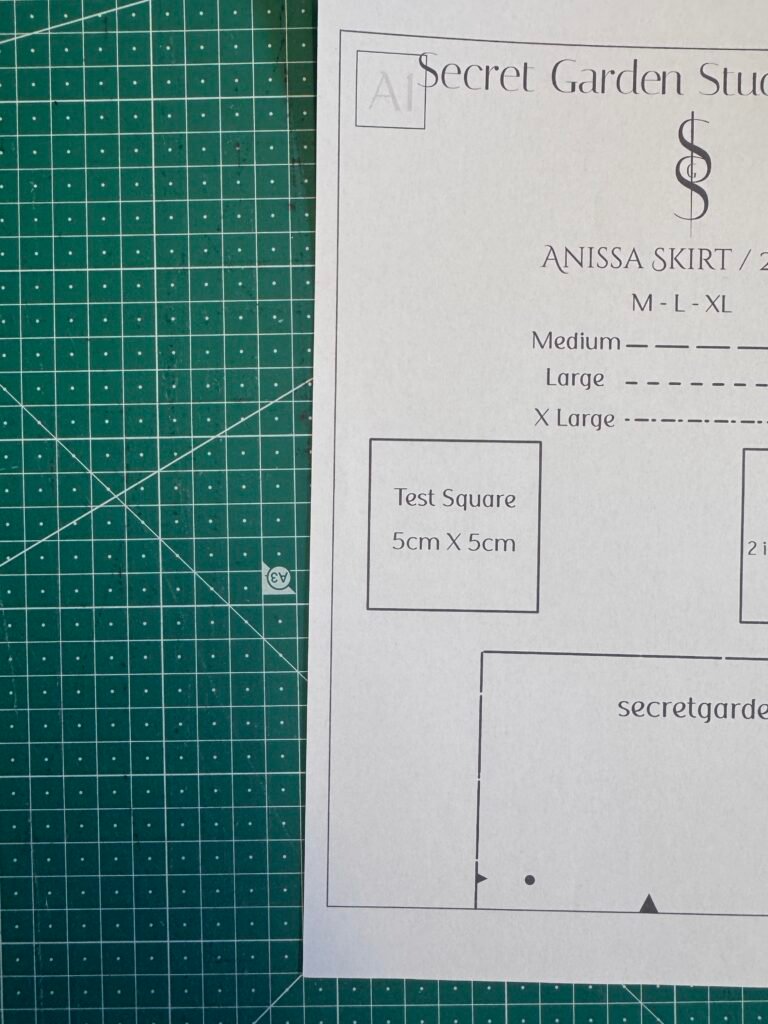
Once you are sure your settings are correct, continue to print the rest of the pattern.
Each page will have a letter and number in the upper left hand corner as seen above. The letter represents the row and the number represents the column. There will be times when not all columns will have a page, as seen in the video below. This is to prevent wasting of paper. Most of the time you will know if the page is missing on purpose due to the lack of matching triangle notches around the missing space.
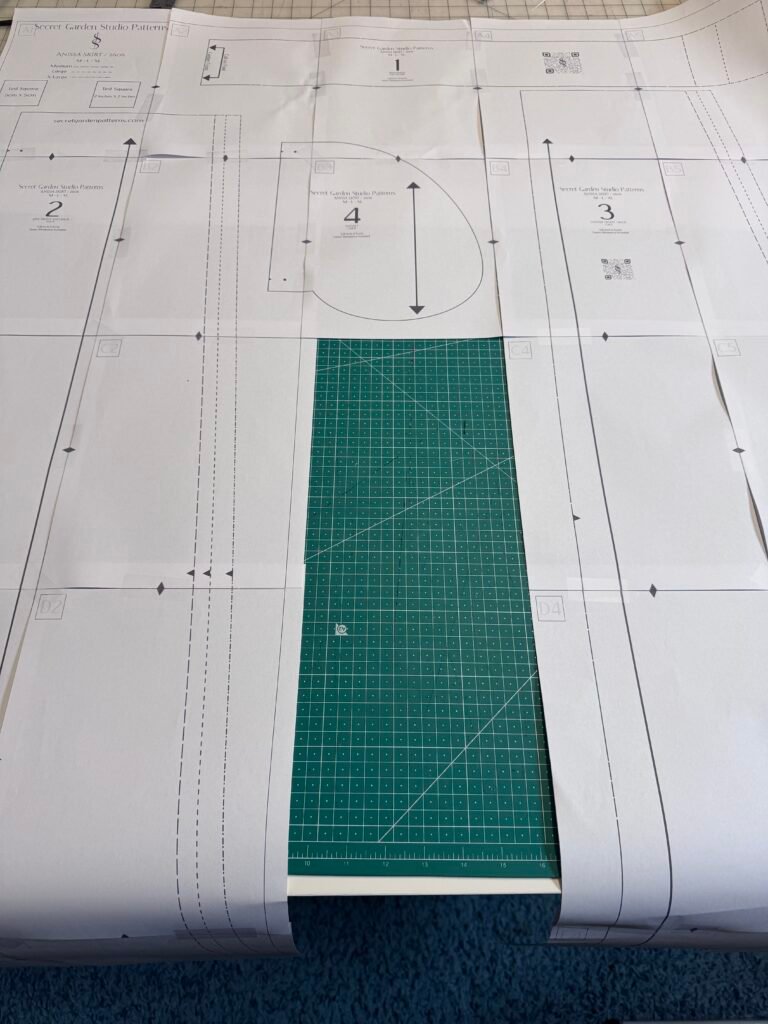
Once all is printed, to make assembly quick and easy, just cut off the left side of page and bottom of each page on the outline or frame of the pattern. This will allow for the pages to match up easily.
Also each pattern comes with a printing guide to help show you how the finished pattern should look once completed.
Don’t forget to use the triangle notches one the sides and tops of your pages as guides to line them up correctly.
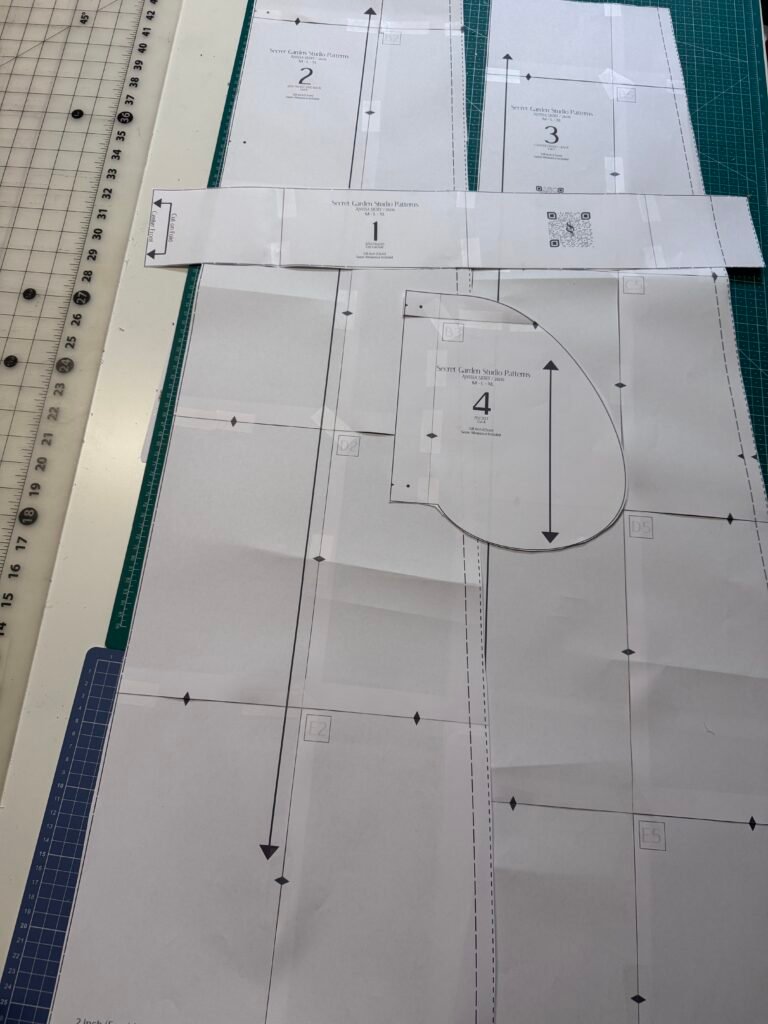
Once your pattern is assembled, use the size line guide on the first page (A1) to help you locate your size. Cut out your pattern and you are ready to put it to fabric and start sewing.
Until next time, happy sewing…